Strawberry Jam Canning Recipe
Strawberry Jam is made a few simple ingredients and taste like spring in a jar. It’s great spread on toast or inside a pop-tart.
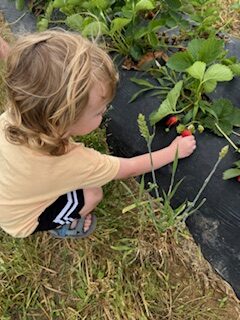
Strawberry Jam is the first thing I canned growing up. My grandmother didn’t do much canning, but we always made jams and jellies in the Spring. Our favorite things to make were strawberry jam and pear preserves. We also never used a water bath canner to seal our jars but used the inverted method. It wasn’t until I decided to start canning as an adult that I realized there were so many rules. I will put both methods below in case you want to try to do it without a canner.
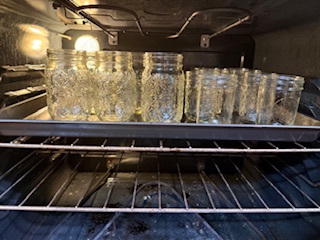
I love to do my jellies without a canner because of the convenience but there are a few things that you have to make sure you do in order to get them to seal. The Jars must be hot and the lids much be hot as well. I like to turn my oven on to 200 degrees and put my jars on a cookie sheet. Just leave them in the oven until you are ready to fill. I also like to pull only a couple jars out at a time so they don’t get cold before filling.
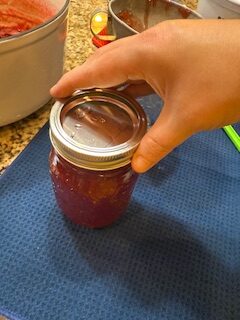
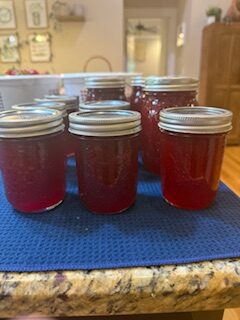
Then once you pull the hot jar out and fill it up, immediately add the hot lid and tighten the ring. Now flip the jar upside down for 5ish minutes. Once you flip it back over it should seal within a few minutes. We have had great success rates with our jars sealing this way. I of course only ever try this method with Jams and Jellies.
This jam is so versatile and makes the best peanut butter and jelly sandwiches. It’s perfect on sourdough toast or in a homemade pop tart.
Things You May Need
- Water Bath Canner
- Food Processor
- Funnel
- Lid Magnet
- Jar Lifter
- Ladle
- Mason Jars
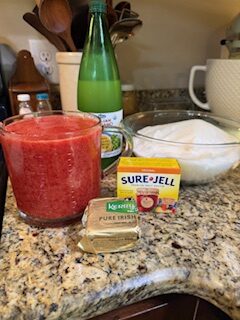
Ingredients
- Strawberries
- SureJell
- Sugar
- Lemon Juice
- Butter


Before You Begin
1. Prep your supplies! Fill water canner, half full with water and put on stovetop. To ensure water is hot when jars go into the canner go ahead and turn on the heat. Take washed jars and either add them to the canner to warm with the water or you can put jars into the oven on a cookie sheet. Turn oven onto 200 degrees and leave in until ready to use. Add a little water over flat lids in saucepan and heat on stovetop. (this is optional, some people don’t heat the lids up and it works fine as well) Go ahead and get out any other items needed like cutting boards, knives, jar lifter, magnetic lid tool, de-bubbler, bowls, ladle etc.
Step by Step Instructions
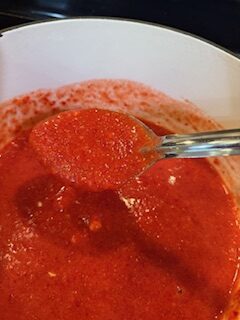
1. Wash strawberries and finely chop or puree fruit, depending on what texture you prefer. ( I prefer to use a food processor to puree mine.) Measure exactly 5 cups prepared fruit into 6- or 8-qt. saucepot. Stir in lemon juice.
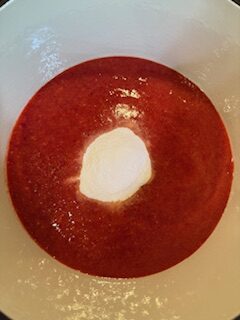
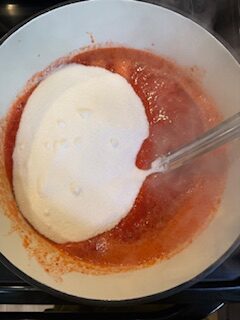
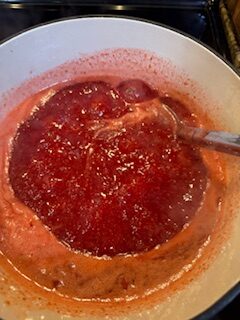
2. Stir in pectin and add butter to reduce foaming. Bring to full rolling boil (a boil that doesn’t stop bubbling when stirred) on high heat, stirring constantly. Add sugar and stir. Return to full rolling boil and boil exactly 1 min., stirring constantly. Remove from heat. Skim off any foam with metal spoon. ( I am not too picky about getting off all the foam, just majority)
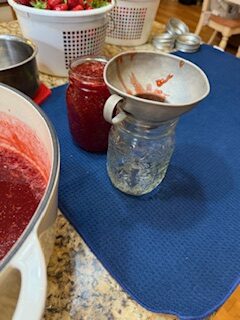
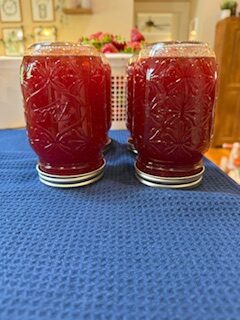
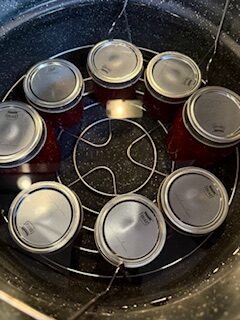
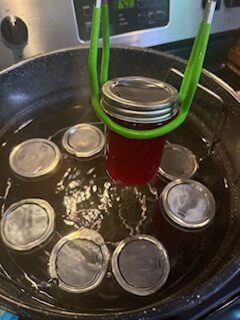
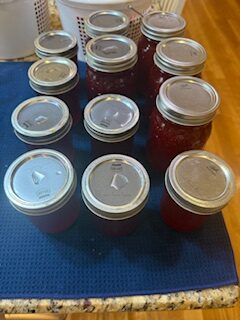
3.Ladle immediately into prepared jars, filling to within 1/4 inch of tops.(I honestly aim for closer to 1/2 inch headspace because I have had them boil over while processing if I don’t leave enough room) Wipe jar rims clean with a paper towel and water or vinegar. Cover with lids and screw bands finger tip tight. Place jars on elevated rack in canner. Lower rack into canner. (Water must cover jars by 1 to 2 inches. Add boiling water, if necessary. I like to keep some water in my kettle going incase I need to add some.) Cover and bring water to gentle boil. Process 10 min. Remove jars and place upright on towel to cool completely. After jars cool, check seals by pressing middle of lid with finger. (If lid springs back, lid is not sealed and refrigeration is necessary.)
4. Leave jars alone for 12-24 hours and then remove the rings, check seal is secured and label.
Notes
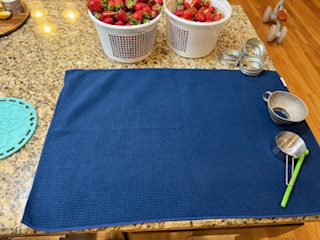
-Prep! I like to get out everything I will need for my canning project. Get out your Water bath canner, funnel, ladle, jars etc. Go ahead and fill up your water bath canner and get the water hot. Put jars in water to heat or in the oven if you prefer. I like to have my ingredients measured and washed if needed. This will make things go much smoother and less hectic.
Strawberry Jam Canning Recipe
Strawberry Jam only takes a few simple ingredients and is so tasty. Taste like spring in a jar!
Ingredients
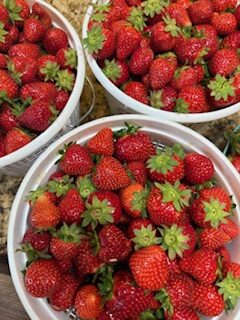
- 5 cups strawberries (Buy about 2qt and crush or chop strawberries before measuring)
- 1 box Sure-Jell (Yellow Box)
- 1/2 tsp butter
- Splash Lemon Juice
- 7 cups Sugar
Instructions
1. Prep your supplies! Fill water canner, half full with water and put on stovetop. To ensure water is hot when jars go into the canner go ahead and turn on the heat. Take washed jars and either add them to the canner to warm with the water or you can put jars into the oven on a cookie sheet. Turn oven onto 200 degrees and leave in until ready to use. Add a little water over flat lids in saucepan and heat on stovetop. (this is optional, some people don't heat the lids up and it works fine as well) Go ahead and get out any other items needed like cutting boards, knives, jar lifter, magnetic lid tool, de-bubbler, bowls, ladle etc.
2. Wash strawberries and finely chop or puree fruit, depending on what texture you prefer. ( I prefer to use a food processor to puree mine.) Measure exactly 5 cups prepared fruit into 6- or 8-qt. saucepot. Stir in lemon juice.
3. Stir in pectin and add butter to reduce foaming. Bring to full rolling boil (a boil that doesn't stop bubbling when stirred) on high heat, stirring constantly. Add sugar and stir. Return to full rolling boil and boil exactly 1 min., stirring constantly. Remove from heat. Skim off any foam with metal spoon. ( I am not too picky about getting off all the foam, just majority)
4.Ladle immediately into prepared jars, filling to within 1/4 inch of tops.(I honestly aim for closer to 1/2 inch headspace because I have had them boil over while processing if I don't leave enough room) Wipe jar rims clean with a paper towel and water or vinegar. Cover with lids and screw bands finger tip tight. Place jars on elevated rack in canner. Lower rack into canner. (Water must cover jars by 1 to 2 inches. Add boiling water, if necessary. I like to keep some water in my kettle going incase I need to add some.) Cover and bring water to gentle boil. Process 10 min. Remove jars and place upright on towel to cool completely. After jars cool, check seals by pressing middle of lid with finger. (If lid springs back, lid is not sealed and refrigeration is necessary.)
5. Leave jars alone for 12-24 hours and then remove the rings, check seal is secured and label.
Notes
-Prep! I like to get out everything I will need for my canning project. Get out your Water bath canner, funnel, ladle, jars etc. Go ahead and fill up your water bath canner and get the water hot. Put jars in water to heat or in the oven if you prefer. I like to have my ingredients measured and washed if needed. This will make things go much smoother and less hectic.