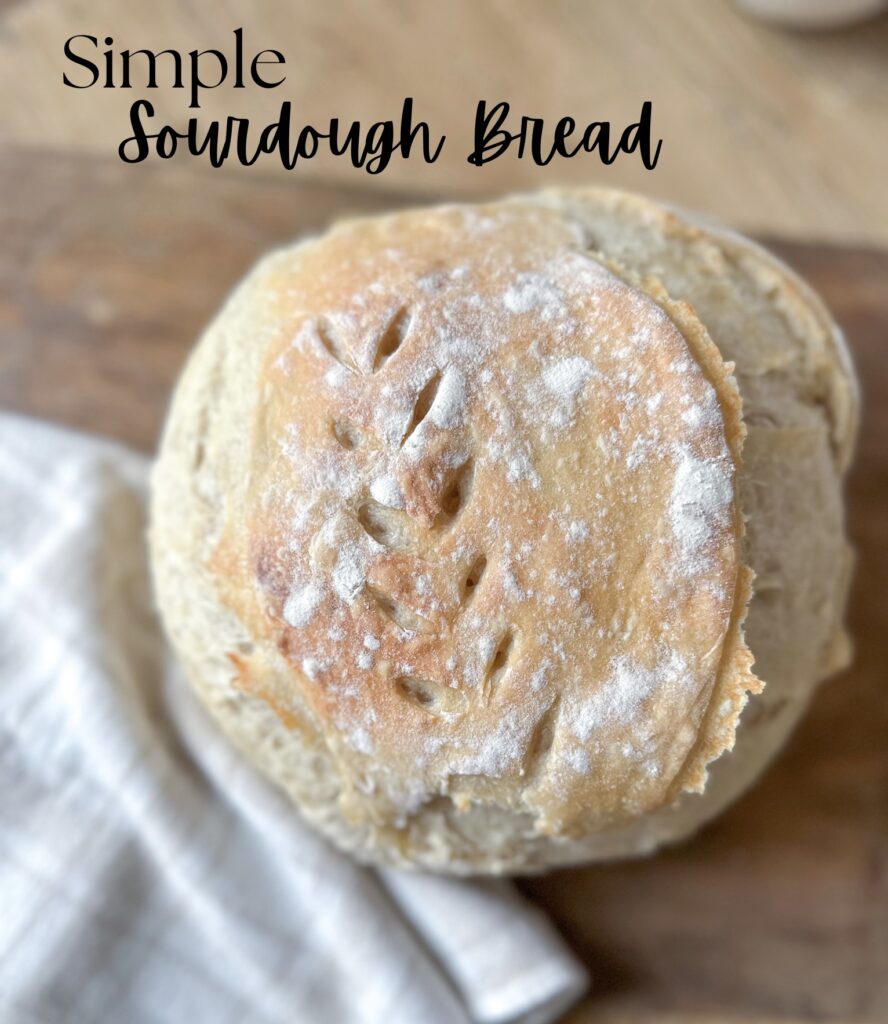
Simple Sourdough Bread
This simple sourdough bread will turn the biggest sourdough skeptic into a sourdough lover. It includes only four ingredients and a bit of your time. Be ready to add this into your weekly rotation!
This simple sourdough is the perfect recipe for the sourdough beginner. It’s the first recipe I tried five years ago when starting sourdough myself. I have tweaked it over the years, but I love it so much I have never even tried another recipe. It turns out great every time!
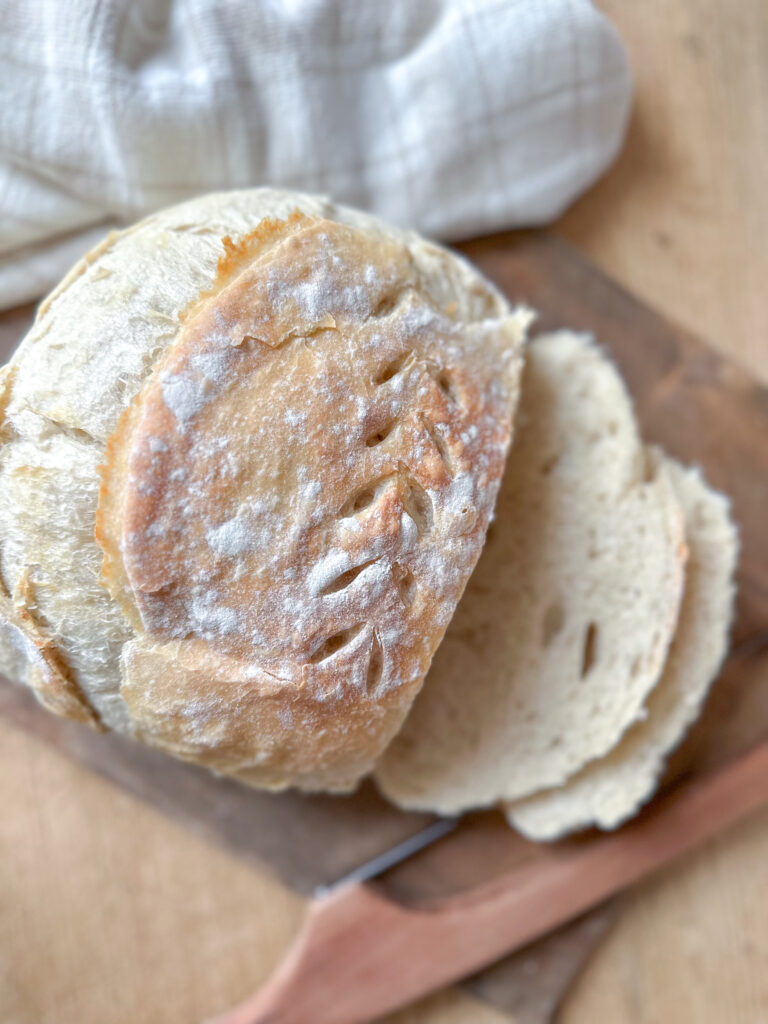
Some sourdough is extra dense and the crust is too crunchy for my liking. I want it to have just enough color, but a pillowy soft texture my kids will love! This sourdough saves me every week when cooking. It turns into an entire meal as a grilled cheese. A side of bread to go with soup. Garlic toast for Italian night. Bread crumbs to make meatballs or meatloaf. Croutons for salad or soup toppings. I also love adding in chocolate chips to my loaf and making delicious French toast.
Why is sourdough bread a healthier option?
Sourdough bread is a fermented bread. Instead of using commercial yeast it uses wild yeast from the environment in order for your loaf to rise and ferment. As it ferments the gluten is broken down making it easier to digest and more nutritious.
Terms to know when making Sourdough
Dough Whisk- This whisk has a round outer metal piece and an inner piece that curls around itself. It allows movement through your dough while mixing it together. Can you imagine mixing your dough with a regular whisk? It would get caught all in the whisk and be quite a mess. You will greatly benefit from using a dough whisk with your sourdough. You can find one here!
Banneton Basket- This is primarily used in the last step of proofing your dough before baking. After I shape my loaf, I place it in a banneton basket to do its second proof before baking. I always cover with a towel. If my banneton liner is dirty I simply line it with a towel. You can find a banneton basket here!
Autolyse- This is the process of hydrating your flour with water and allowing it time to rest. This happens at the very beginning of the bread making process.
Score- Scoring your bread is simply cutting into the top of it with some sort of sharp object such as a scoring stick. I prefer to cut two lines down each side of my bread. You can also create beautiful designs in the top of your loaf before baking. If beautiful designs is preferred I suggest allowing the dough to get cold in the fridge before scoring. You can find a scoring stick here!
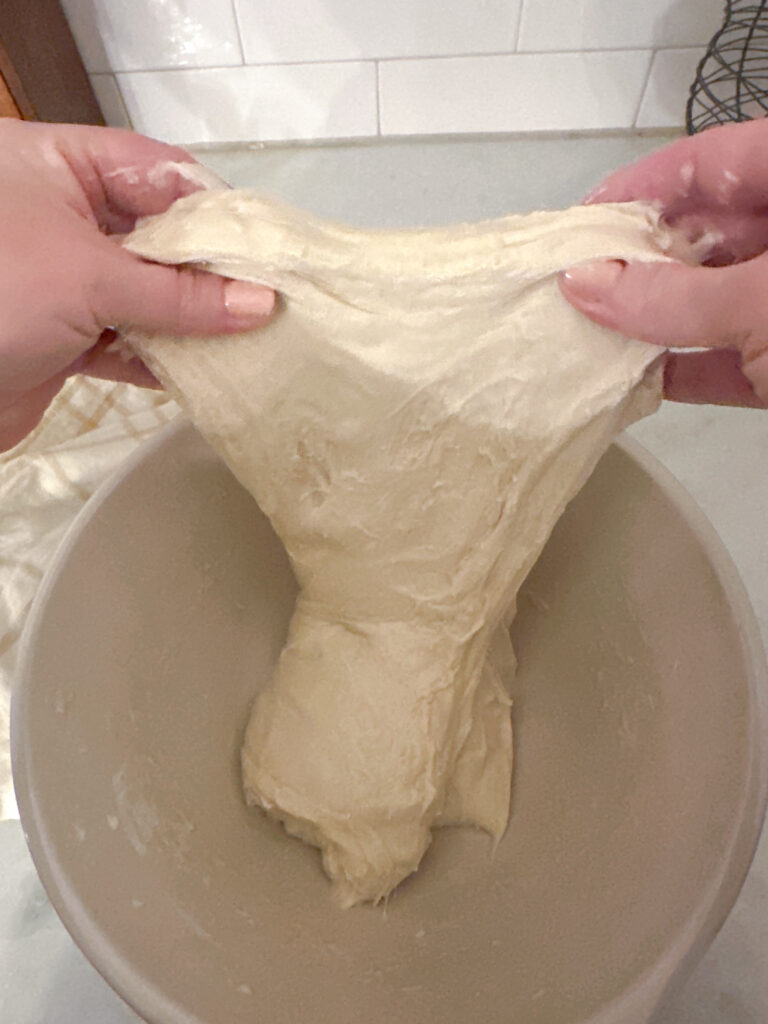
Stretch and Folds- This motion helps to create the gluten structure in your loaf. Simply pull your dough up on one side and give it a good stretch. Then fold it over the dough in the bowl. Continue this three to four times until each side of the dough has been stretched. This will allow your loaf to rise its best and create those beautiful holes in your bread.
Proof– Proofing your dough is simply the time in which it sits and has time to rise!

Tips:
- Be sure your sourdough starter is active before making bread. The time it takes for your starter to become active varies depending on the temperature of its environment. I like to sit mine where the sun is hitting it or in the winter close to the fireplace and have it turned on. This allows my starter to become active quickly.
- This recipe only gives measurements based on grams. It is the best way to ensure that you are combining the right amount of ingredients. Be sure to use a food scale to measure your ingredients.
- Be sure you place a baking sheet on the bottom rack of your oven to keep the bottom of your bread from over baking.
Our Favorite Ways to Eat Sourdough Bread:
- My son’s favorite way to eat this bread is a grilled cheese. I be sure to add some garlic salt to eat piece of bread after I butter it. It adds such a great flavor to the grilled cheese. Colby-Pepper Jack cheese is our favorite!
- Garlic bread to go with all our Italian favorites. Simply butter both sides and add garlic salt again! Toast till perfectly crispy!
- Cheese toast to go with tomato soup is my personal favorite. I love doing an open faced grilled cheese and dipping it into my homemade tomato soup.
- Another favorite of mine is croutons. They work great on top of potato soup. I make sure to cut them into small pieces so I can have one with each bite.
- Breadcrumbs is a great way to use up bread that is going bad. Simply throw it in a food processor and throw it into meatballs or meatloaf. You could even use it for breading chicken.
- There is always a kid favorite, French toast. I prefer to do sourdough French toast when I make my chocolate chip loaf, but this works too. I just add some vanilla to the batter and extra cinnamon to sweeten it. Top with powdered sugar and syrup for the perfect sweet treat!
Ingredients
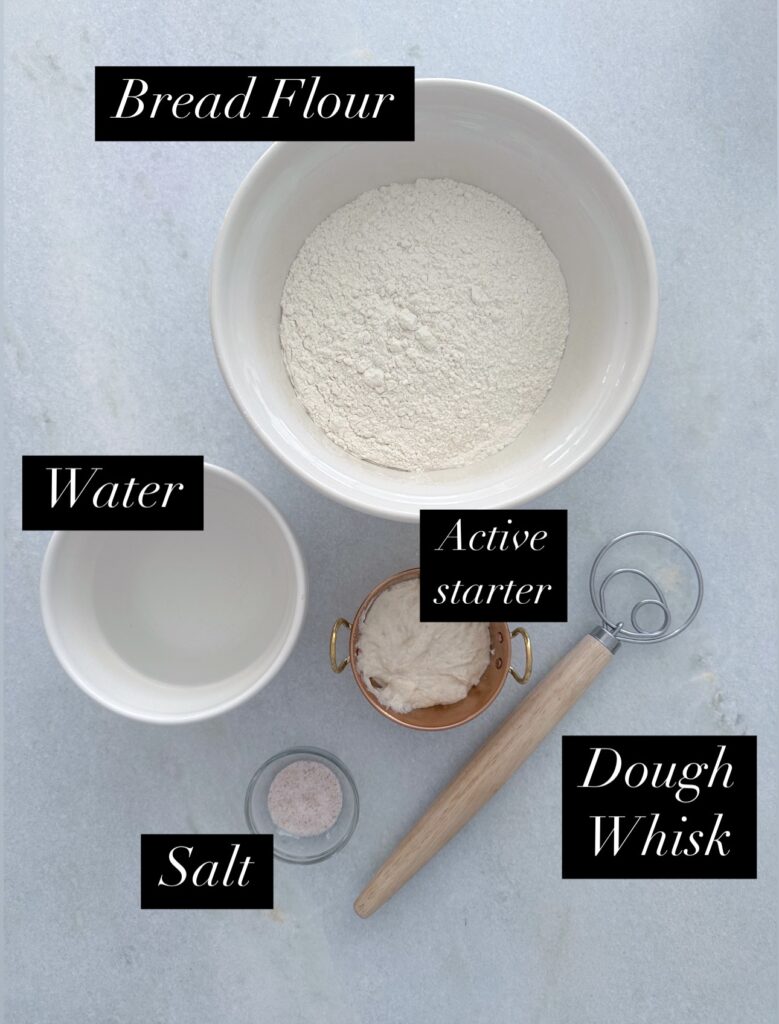
This picture shows one of the ways in which this sourdough bread is simple. With only four ingredients you can create a healthy and delicious homemade bread for your family.
The exact amounts of each ingredient can be found below in the recipe card.
How to Make Simple Sourdough Bread
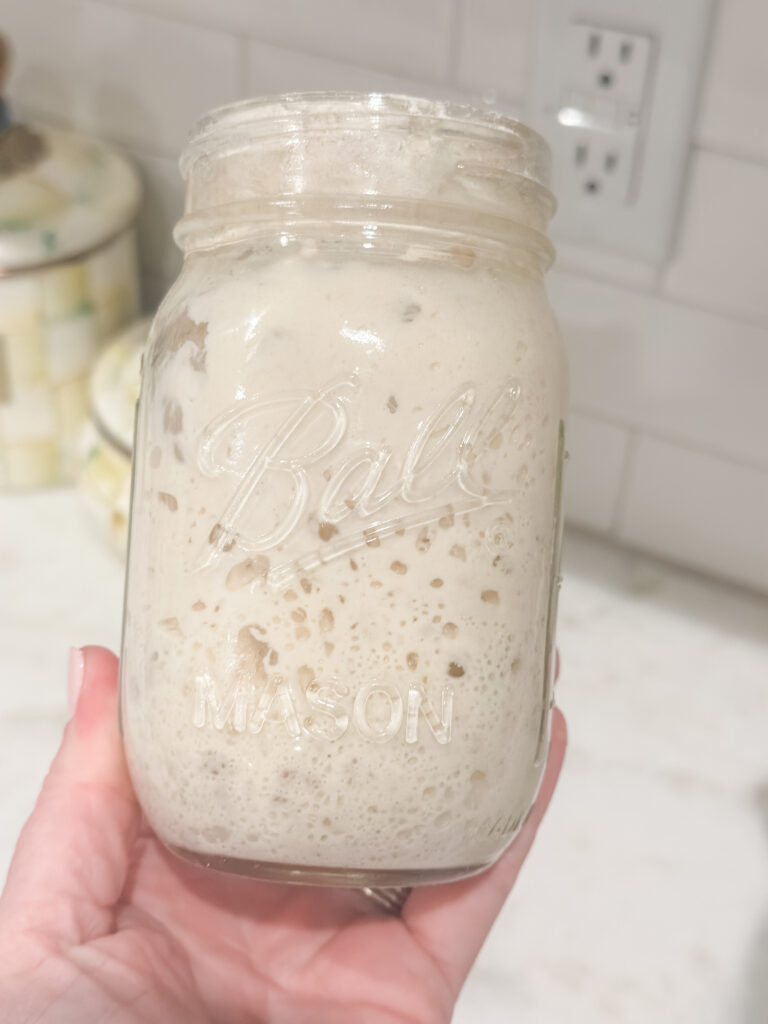
Step 1:Feed your starter first thing in the morning. Sit it in the warmest place in your home. Be sure you let it rise and get active/bubbly.
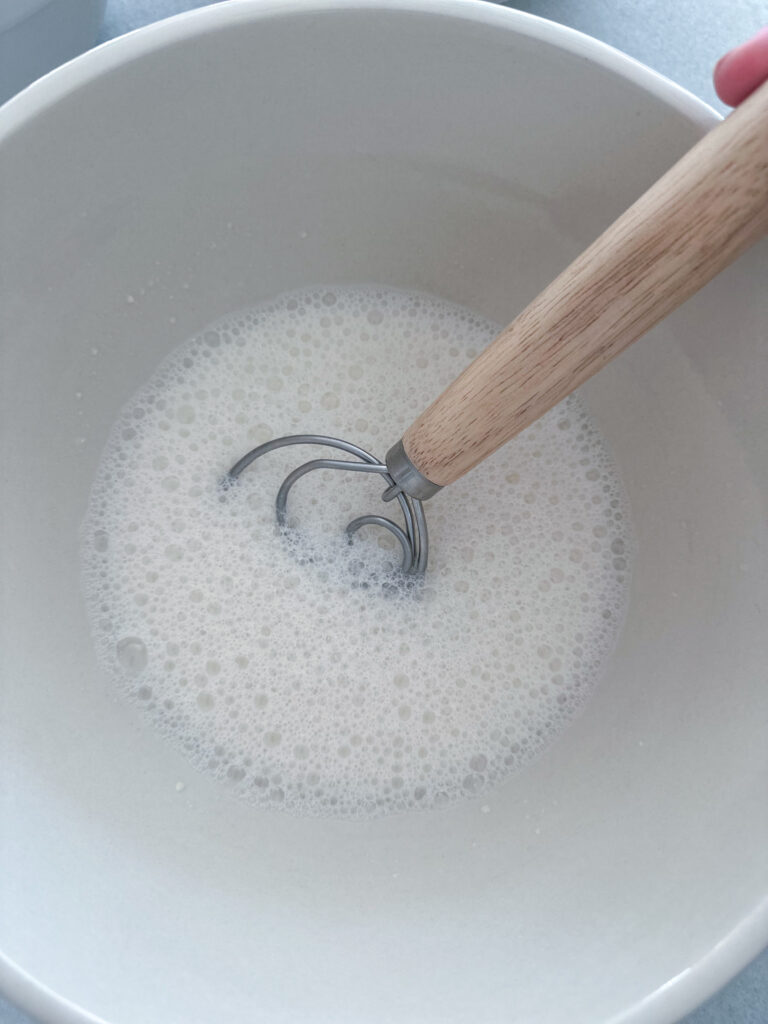
Step 2: In a medium sized bowl, using your food scale, add your 350 grams of water and 100 grams of starter. Give it a stir till it looks like cloudy water.

Step 3: Mix in your 500 grams of bread flour. This will create a shaggy dough that may look like the flour isn’t incorporated all the way.
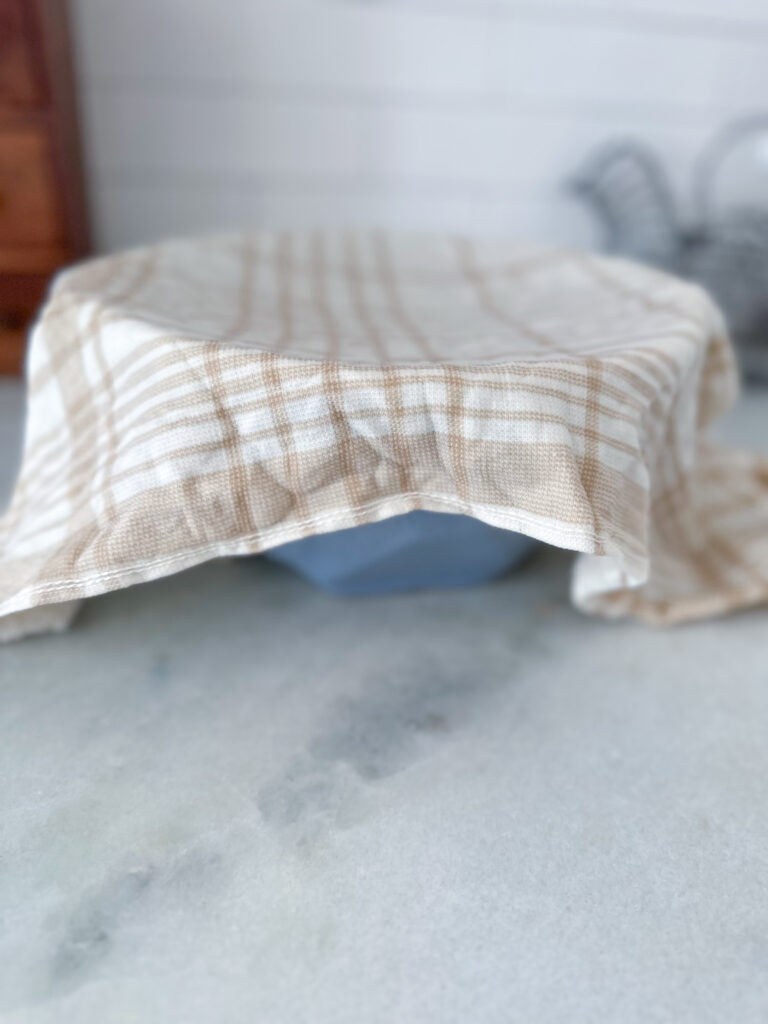
Step 4: Cover with a damp towel for at least 20 minutes in order for the dough to autolyse.

Step 5: Add in 10 grams of salt and 3 tbsp of water. This will create a hydrated dough. Recover with damp towel and let sit out on your counter.
Step 6: Any time you think about it up until going to bed stop by and do some stretch and folds. Pull up one side of the dough giving it a good stretch and fold it over the dough. Do this on all sides and recover with towel.
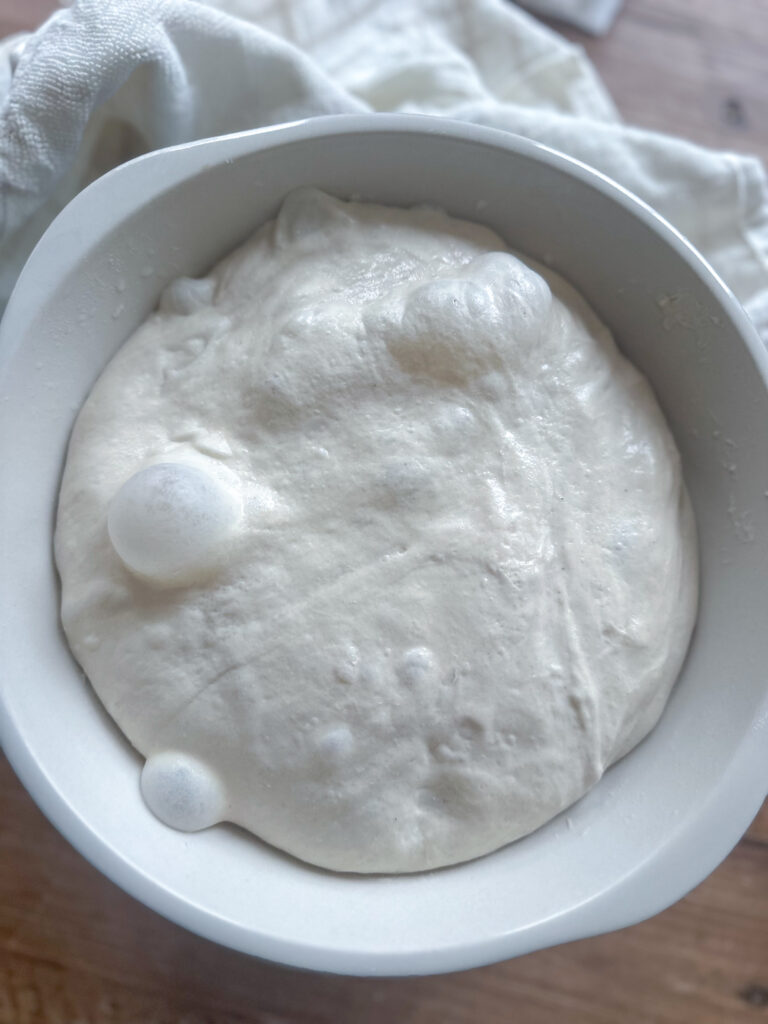
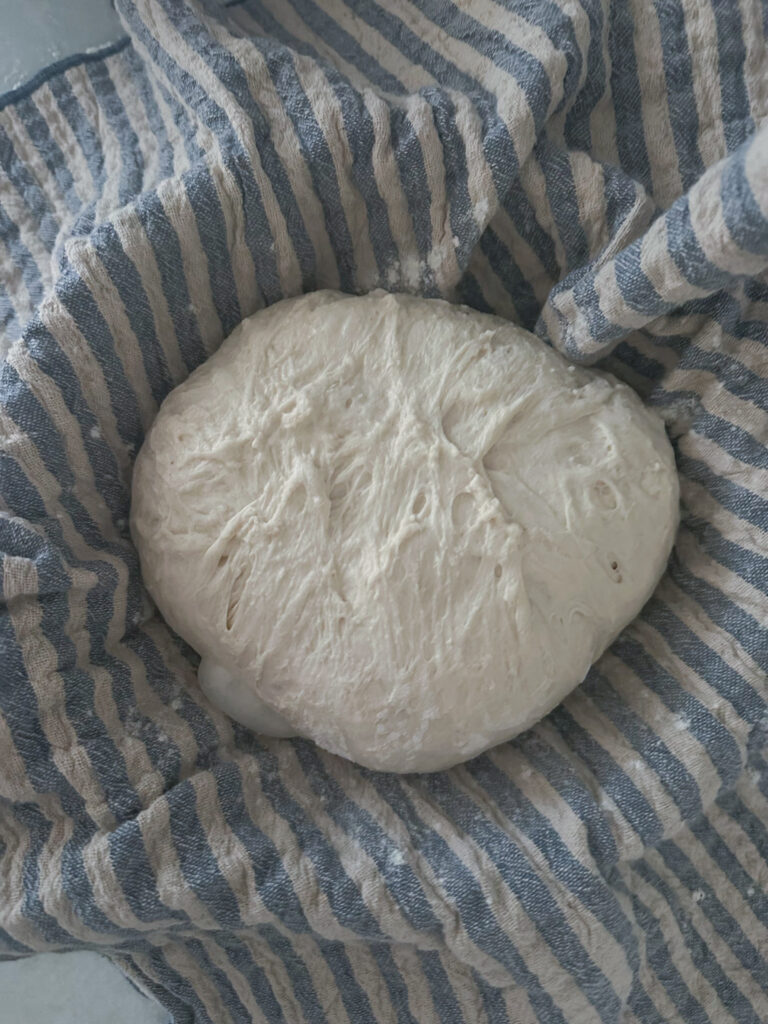
Step 7: Once it’s time to bed leave your dough covered with a damp towel overnight. In the morning you will have this beautiful bubbly dough.
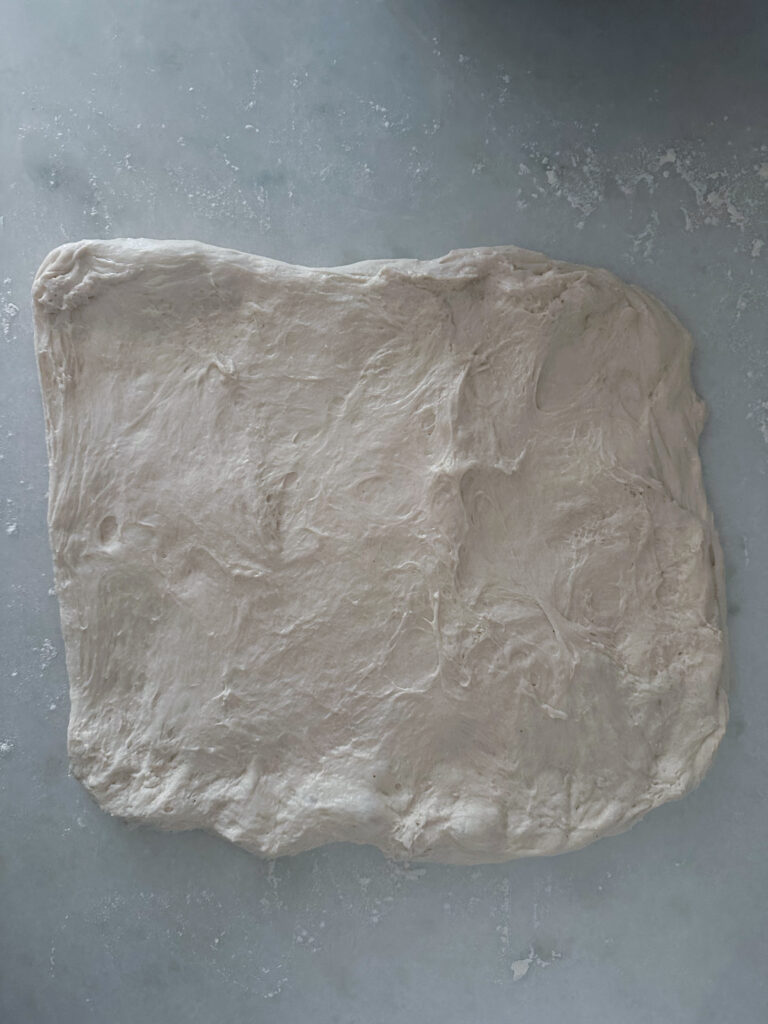
Step 8: First thing in the morning place dough onto lightly floured surface. Stretch out into a large rectangle.
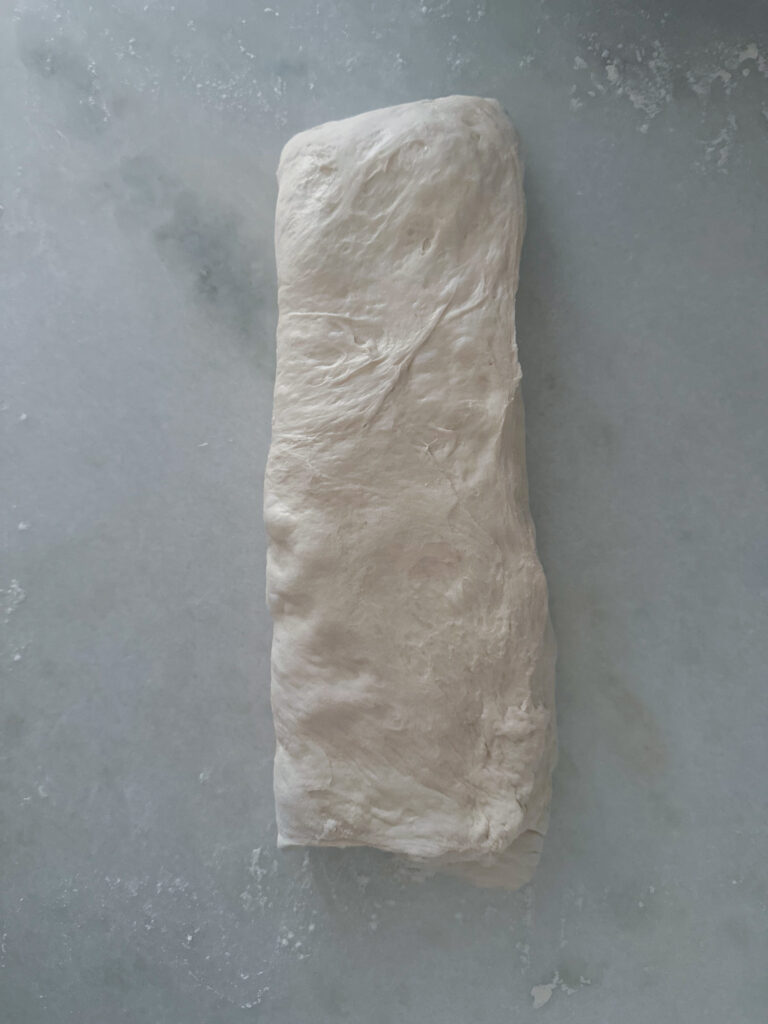
Step 9: Fold into thirds creating a long skinny rectangle.
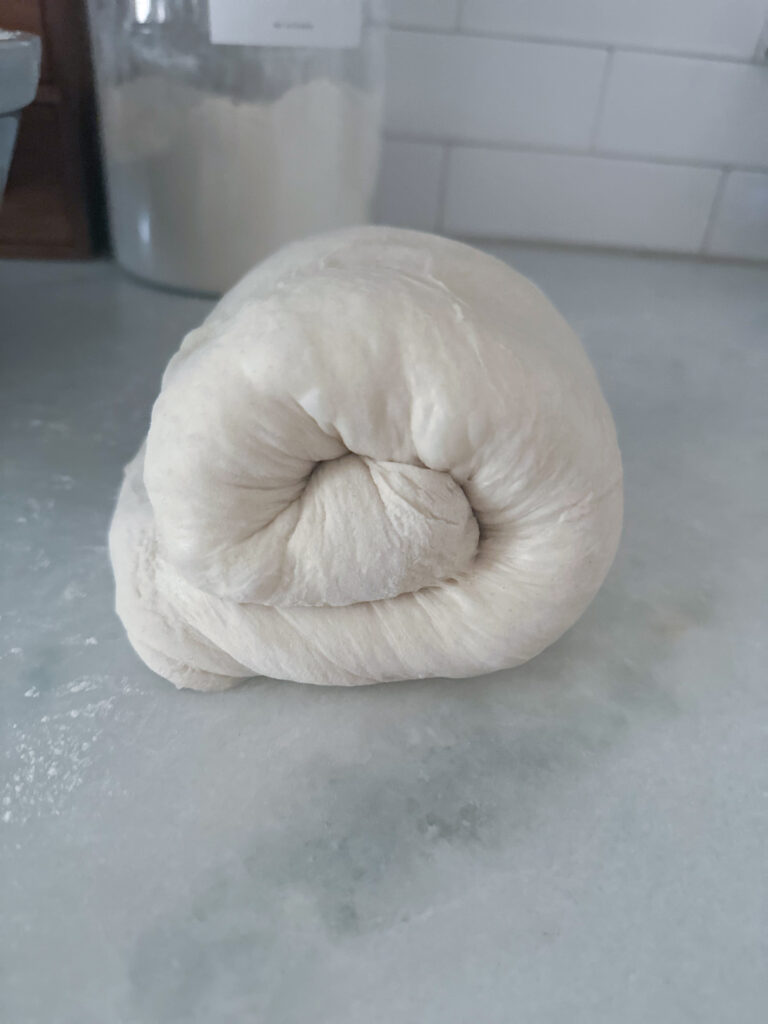
Step 10: Start at the small end and roll the dough up.
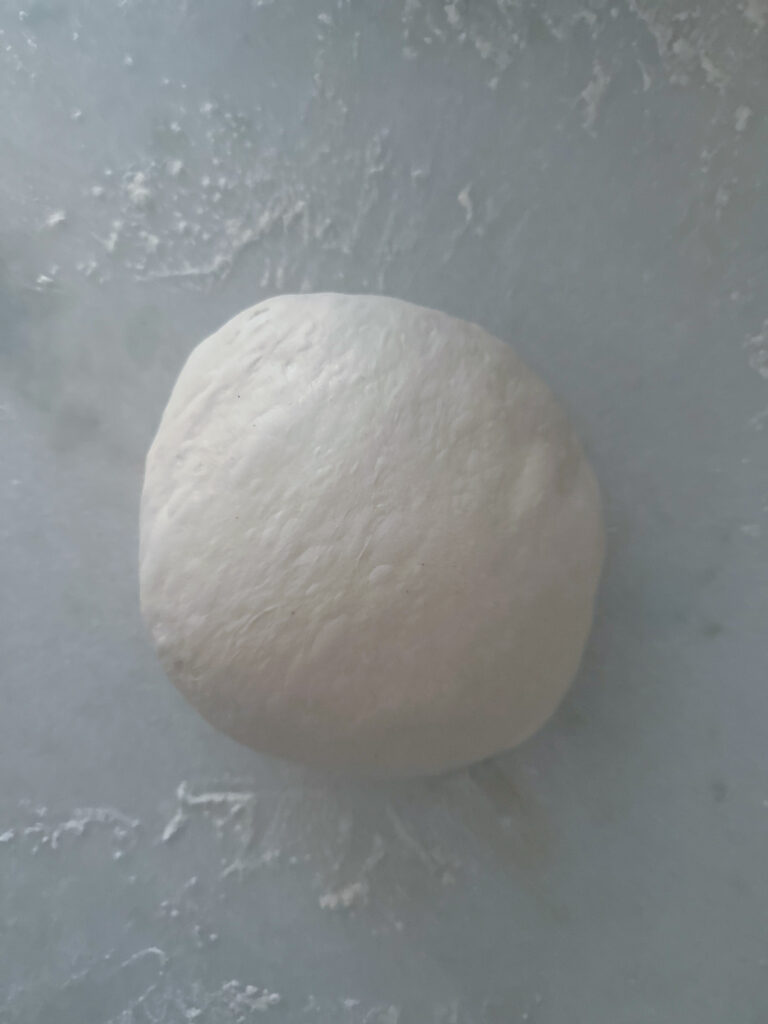
Step 11: Push and pull your dough firmly across the counter to create a ball of dough. I do this step for at least a minute.
Step 12: Place the dough into a banneton basket lined with a towel. I usually give the towel a dusting of flour. Cover the towel over the bread and allow to rise for at least another hour. If you aren’t ready to bake, place in a plastic bag and put into the fridge. This is also great if you want to do a beautiful design on the top.
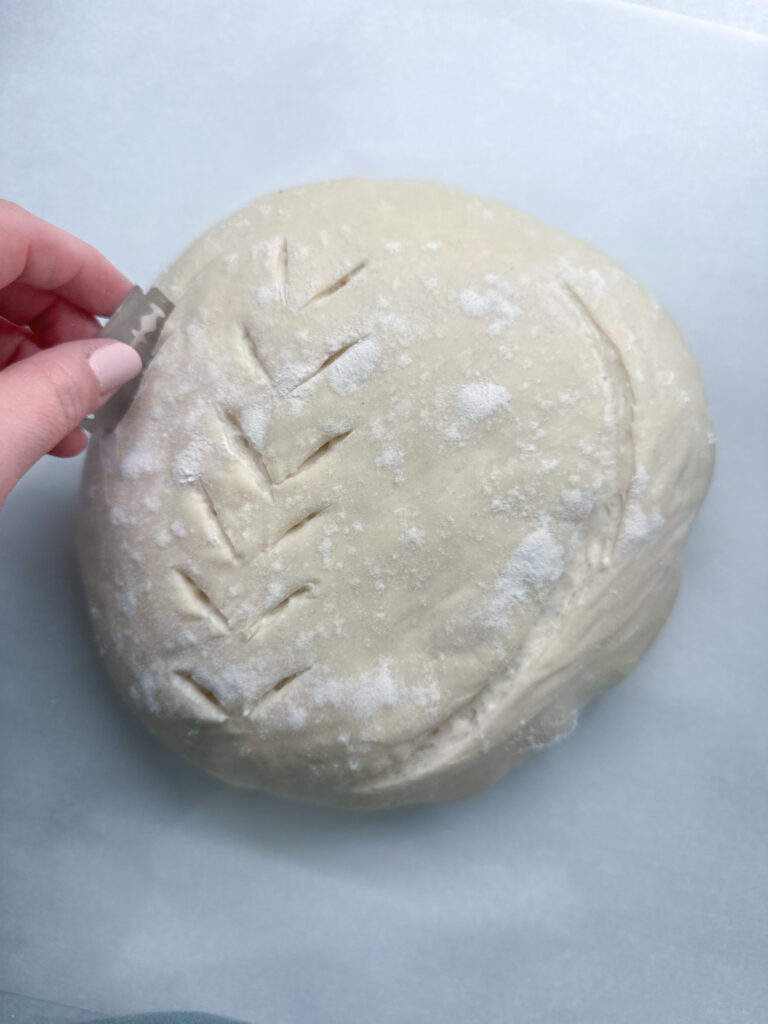

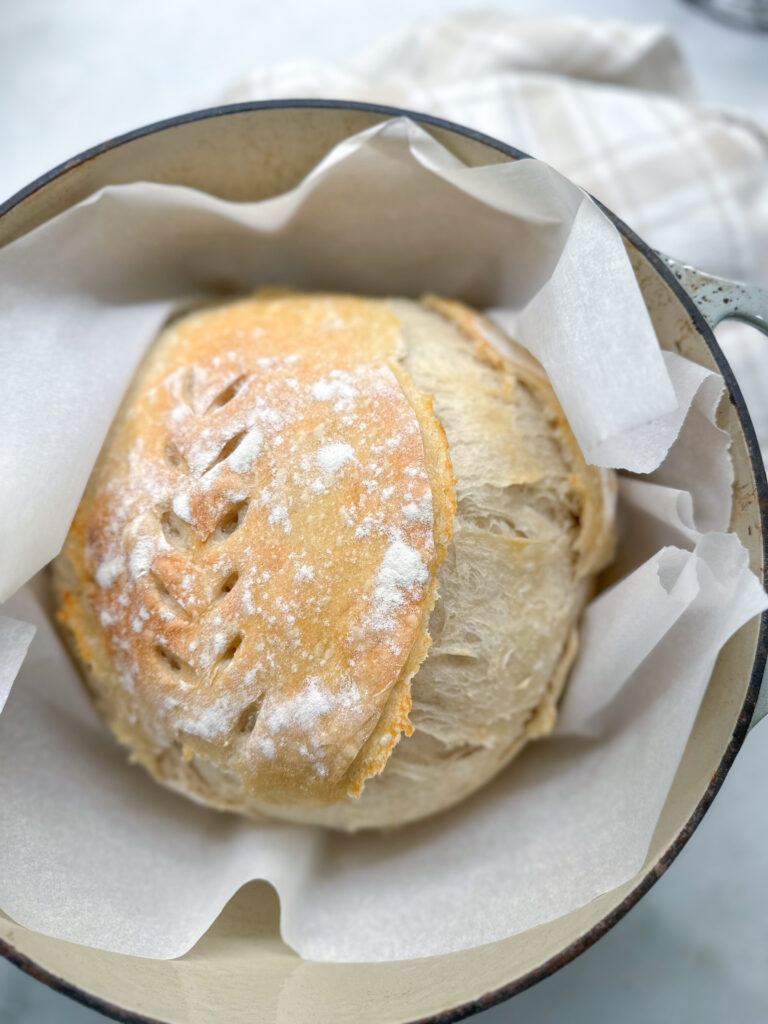
Step 13: Place dough onto a piece of parchment. Score your dough with whatever design you choose. I usually just do a line on both sides.
Step 14: In a 425 degree oven place a baking sheet on the bottom rack. This will help prevent burning on the bottom of your bread. Place dutch oven with lid on in oven. Bake for 45 minutes with the lid on and then 5 more minutes with the lid off.
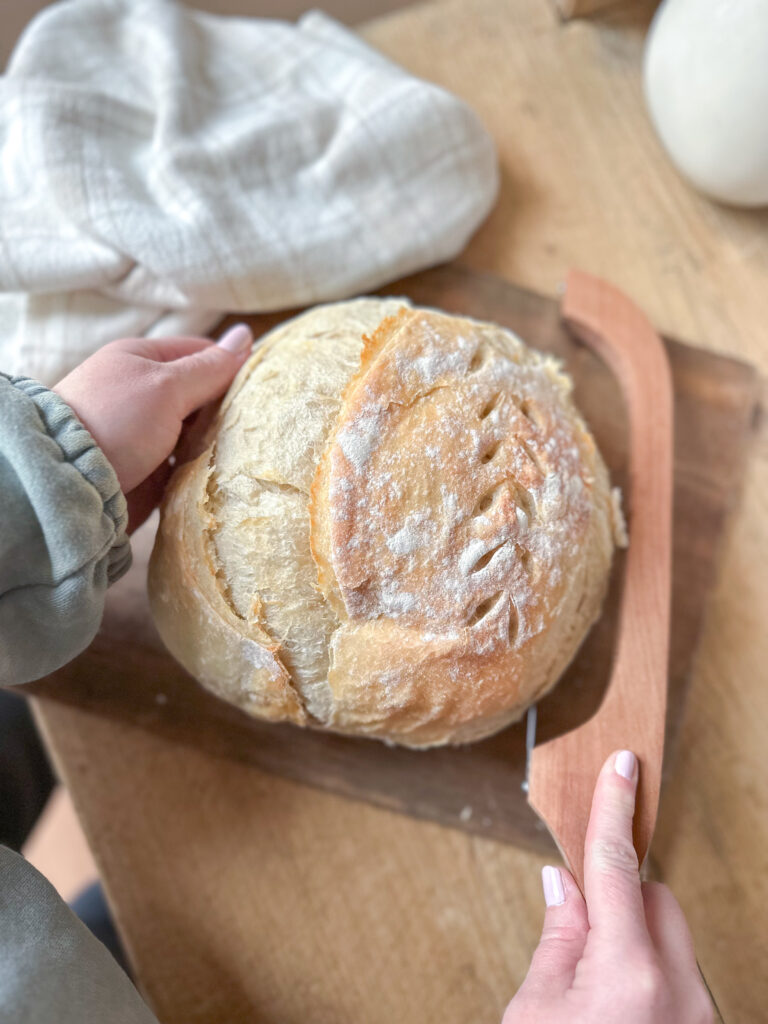
Step 15: Let your sourdough bread cool for about 30 minutes before cutting into it. If you cut into it too soon it can cause your loaf to be gummy.
Simple Sourdough Bread

This simple sourdough bread will turn the biggest sourdough sketptic into a sourdough lover. It includes only four ingredients and a bit of your time. Be ready to add this into your weekly rotation!
Ingredients
- 350 grams filtered room temperature water
- 100 grams active starter
- 500 grams bread flour
- 10 grams salt
- 3 tbsp water
Instructions
- Feed your starter first thing in the morning. I usually feed mine around 60 grams of water and flour. Place it in a warm place in order for it to rise well.
- Once your starter has risen and is nice and bubbly place a medium sized bowl on your food scale.
- Add in 350 grams of water and 100 grams of active starter. Stir with your dough whisk until it looks like cloudy water.
- Stir in 500 grams of bread flour to create a shaggy dough. Cover with a damp towel and let sit for about 20-30 minutes.
- Place back on food scale and measure 10 grams of salt. Add in a few tbsp of water and mix into the dough. Cover again with towel.
- At this point any time you think about it go give your dough some stretch and folds. Just lift one side of the dough and gently pull up to stretch it out and fold it over the ball of dough. Do this on all sides of the dough and recover. Do not stress about how many times you do this throughout the day. There is no magic number and if you forget it will still turn out.
- Before going to bed be sure your towel is damp and leave it out on the counter overnight.
- The next morning place dough onto lightly floured surface. Gently stretch the dough into a rectangle and fold into thirds to create a long skinny rectangle. Starting at the small end roll the dough up.
- Next using both hands push and pull the dough across your counter top to create tension and a beautiful ball of dough. I usually do this step for at least a solid minute. Once complete place into a banneton basket with a towel in it. Fold the towel over the top of the bread and let sit on the counter at least an hour or until ready to bake.
- When ready to bake preheat oven to 425 degrees. Put dough onto a piece of parchment paper and score the top of it how you like. Place a baking sheet on the bottom rack of your oven to help the bread to not overcook on the bottom.
- Place the parchment paper with dough on it into a dutch oven with the lid on. Bake 45 minutes with the lid on and then 5 minutes with the lid off.
- Let the bread cool for at least 30 minutes before cutting into the loaf. You don't want to cause the bread to become gummy by cutting it to soon.
Notes
- You can make this loaf into any flavor profile you want. Once you have stretched the dough into a rectangle simply add in whatever mix ins you would like.
- Do not stress over the stretch and folds. I have made this loaf without doing them at all and I have made it when I have done them every thirty minutes. Your loaf will turn out either way. It will puff up and look better with the stretch and folds.
- Our favorite ways to eat it is toasted with butter and jam, grilled cheese with colby pepper jack cheese and garlic salt on the bread to add flavor, grilled in a skillet with butter and garlic salt on both sides as garlic bread for italian night, or as croutons to top your soup with. There are so many other uses for it!
- If timing doesn't go according to plan and you can't bake it the next morning simply store it in the fridge so it doesn't over ferment.
Nutrition Information:
Yield:
10Amount Per Serving: Calories: 199Total Fat: 0gCarbohydrates: 41.7gProtein: 7.2g