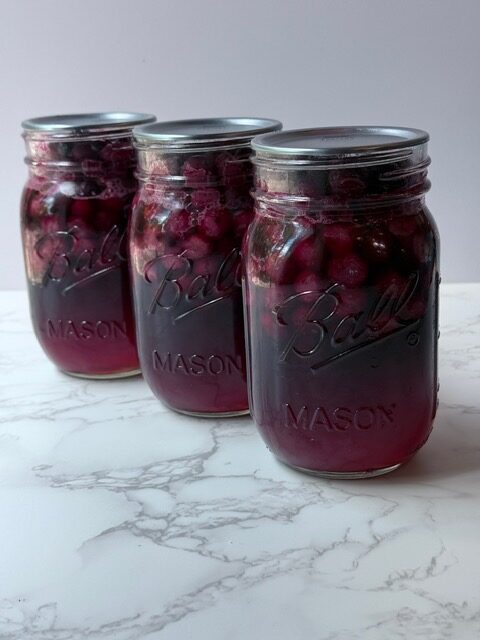
Canning Blackberry Jelly
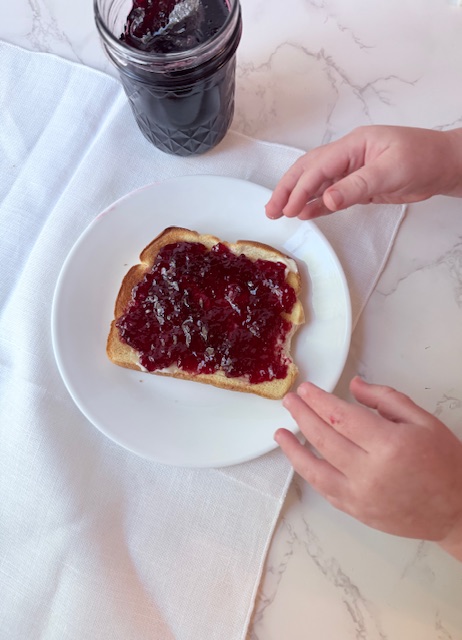
Blackberry Jelly is a southern staple. There’s nothing better than homemade jelly on sourdough toast.
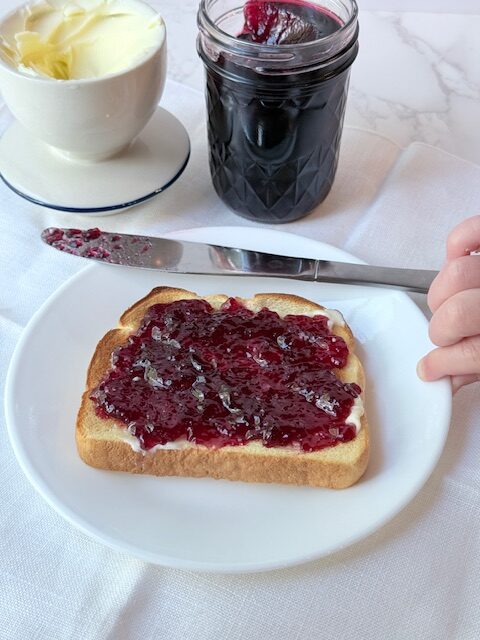
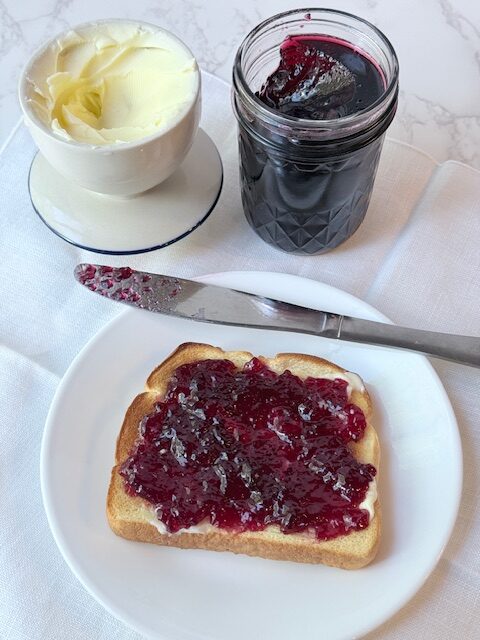
This picture is the perfect depiction of just how good this jelly is. My toddler came over while I was photographing the jelly on toast and quietly started sliding the plate over to himself to eat. Needless to say I couldn’t say no to him and I cant blame him. He took the toast, ate a bite and said “yummy in my tummy”. I laughed and understood his thoughts exactly.
I remember the first time I had blackberry jelly was at my mother-in-laws house. She made some every year and I was determined I wasn’t going to like it because I didn’t like the texture of blackberries. Once I finally gave in and tried it I was mad I hadn’t tried it before. The flavor is perfectly sweet with a hint of tartness. It is now in a tie for my favorite jelly/jam with strawberry. If you are new to canning or want to make some homemade gifts to wow your friends and family this is the recipe for you.
Tools You May Need
- Water Bath Canner
- Funnel
- Jar Lifter
- Mason Jars
- Lids and Rings
- Dutch Oven
- Strainer
- Large Measuring Cup
- Metal Spoon
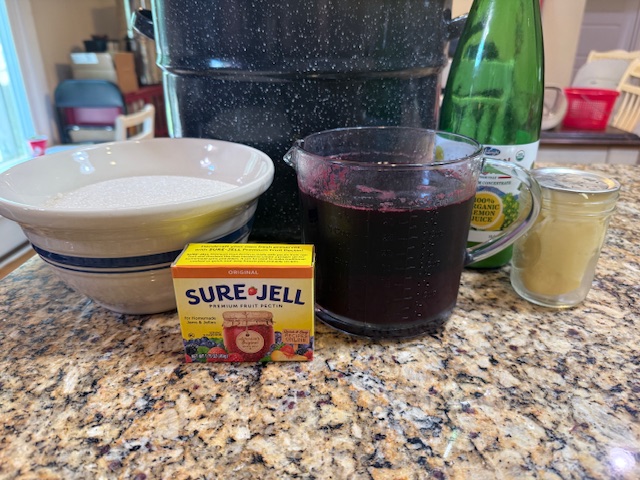
Ingredients
- Blackberries
- Water
- Butter
- Sugar
- Lemon Juice
- Sure-jell
Step By Step Instructions
1. Prep your supplies! Fill water canner, half full with water and put on stovetop. To ensure water is hot when jars go into the canner go ahead and turn on the heat. Take washed jars and either add them to the canner to warm with the water or you can put jars into the oven on a cookie sheet. Turn oven onto 200 degrees and leave in until ready to use. Add a little water over flat lids in saucepan and heat on stovetop. (this is optional, some people don’t heat the lids up and it works fine as well) Go ahead and get out any other items needed like cutting boards, knives, jar lifter, magnetic lid tool, de-bubbler, bowls, ladle etc.
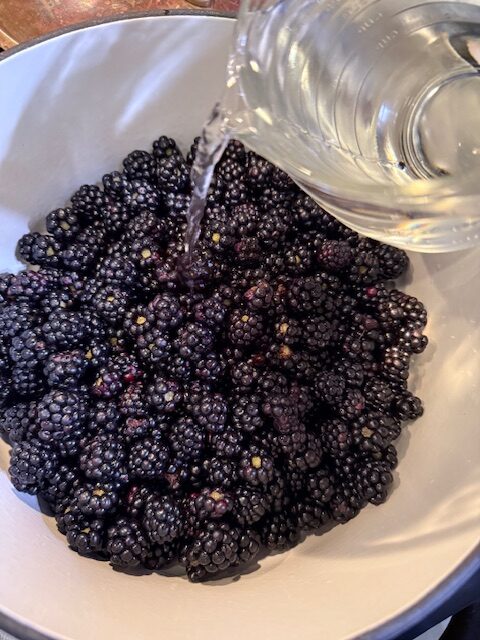
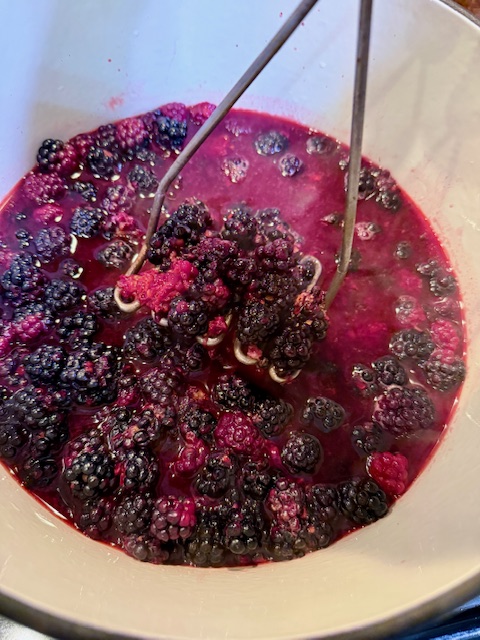
2. Wash blackberries and put into Dutch oven with 1 cup of water to make sure they don’t burn. Cook on medium heat for about 15 minutes. Once blackberries start to soften use a potato masher or muddle to squeeze the blackberries. This helps to get all the juice out of the berries.
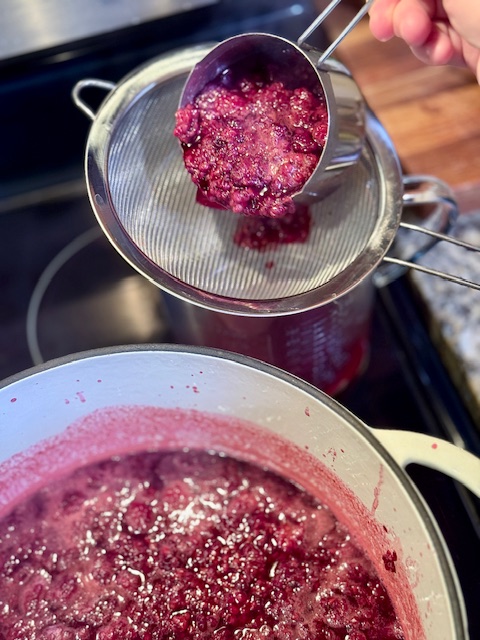
3.Once you have thoroughly Once you have got all the juice out of the berries, then pour through a fine mesh strainer. You are needing roughly 3 3/4 cup of juice. If you don’t get enough juice out of the berries than fill the remaining part up with water.
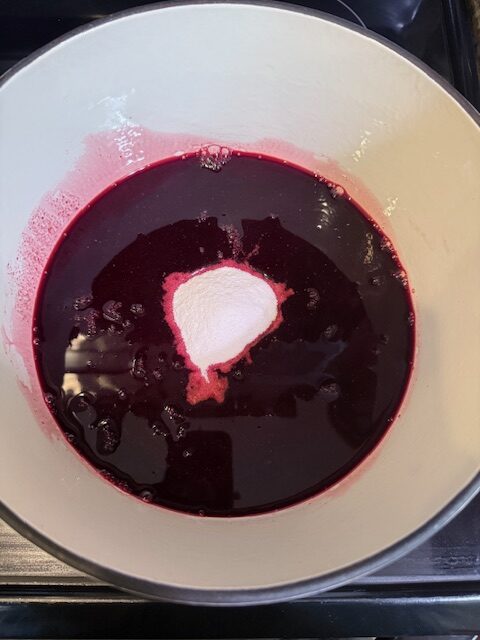
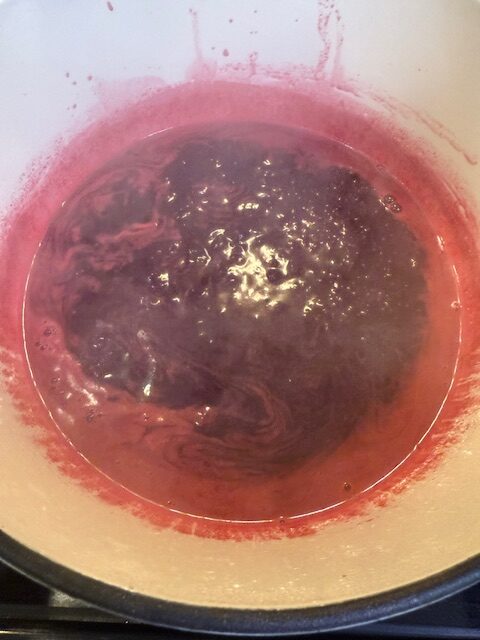
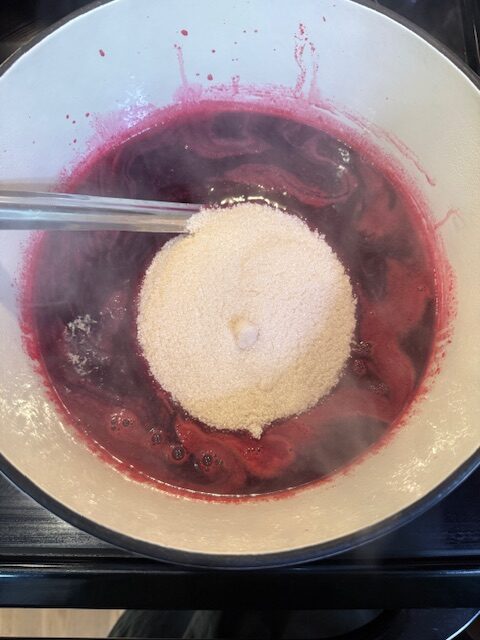
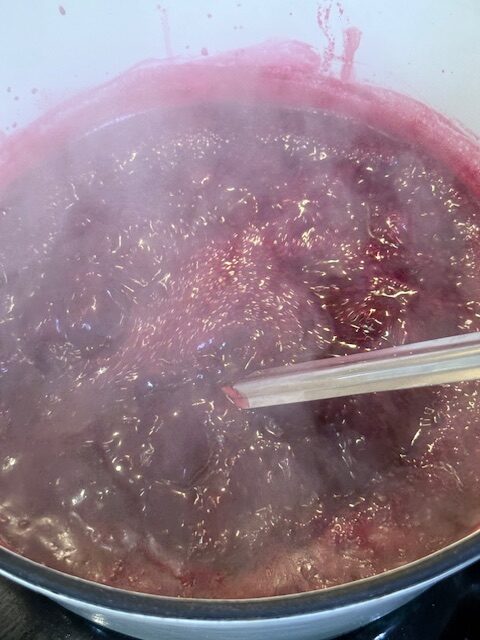
3.Pour blackberry juice, lemon juice, butter and sure-jell into a large pot. Then bring mixture to a roiling boil and stir in sugar. Return to full rolling boil and boil exactly 1 min., stirring constantly. Remove from heat. Skim off any foam with metal spoon. ( I am not too picky about getting off all the foam, just majority)
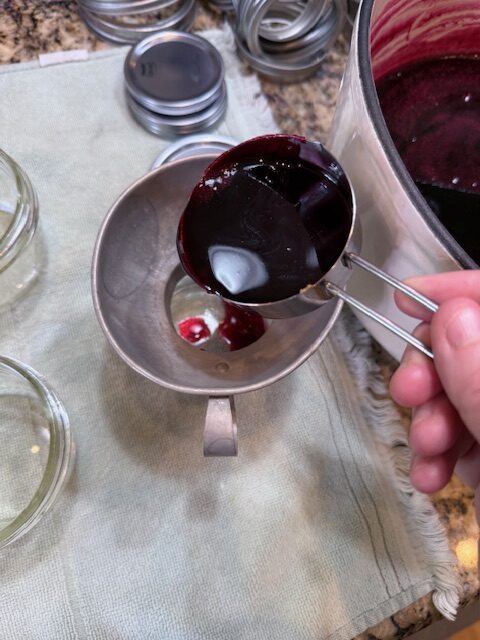
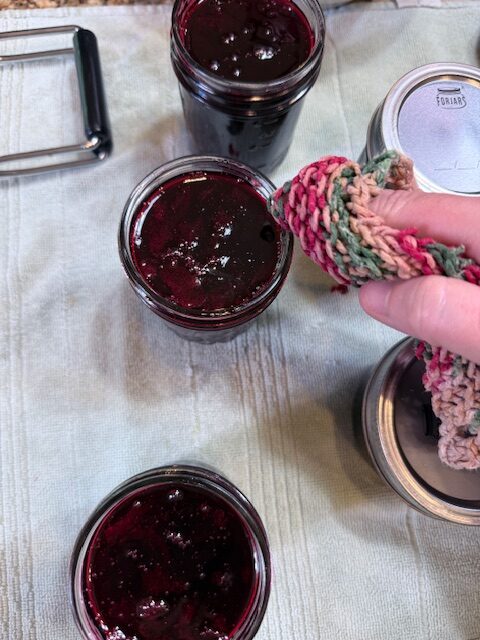
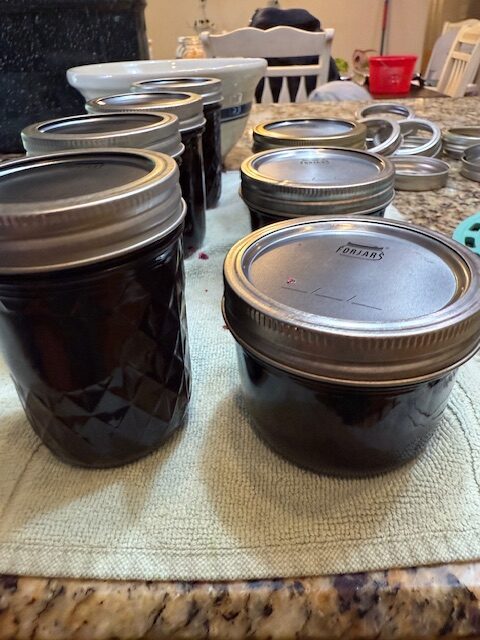
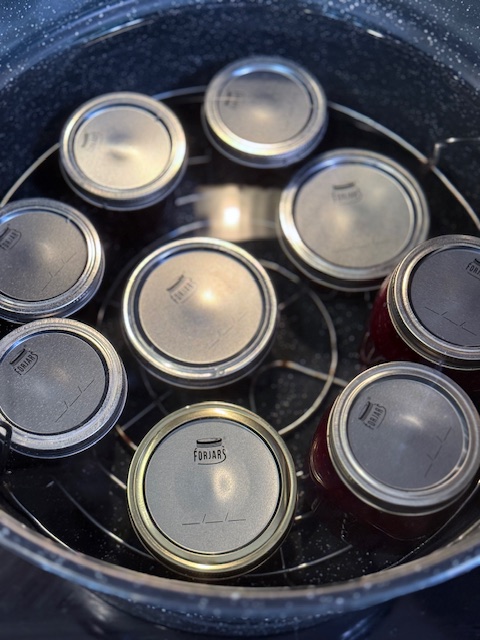
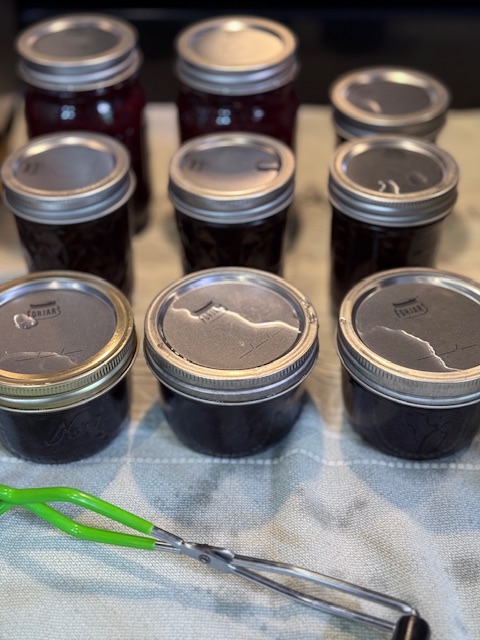
4.Ladle immediately into prepared jars, filling to within 1/4 inch of tops.(I honestly aim for closer to 1/2 inch headspace because I have had them boil over while processing if I don’t leave enough room) Wipe jar rims clean with a paper towel and water or vinegar. Cover with lids and screw bands finger tip tight. Place jars on elevated rack in canner. Lower rack into canner. (Water must cover jars by 1 to 2 inches. Add boiling water, if necessary. I like to keep some water in my kettle going incase I need to add some.) Cover and bring water to gentle boil. Process 10 min. Remove jars and place upright on towel to cool completely. After jars cool, check seals by pressing middle of lid with finger. (If lid springs back, lid is not sealed and refrigeration is necessary.)
5. Leave jars alone for 12-24 hours and then remove the rings, check seal is secured and label.
Canning Blackberry Jelly
Blackberry Jelly is a southern staple. There's nothing better than homemade jelly on sourdough toast.
Ingredients
- Blackberries ( Fresh or Frozen) Roughly 3 quarts
- 1 cup water
- 4 1/2 cups sugar ( or less if using the low sugar sure-jell)
- Box of Sure-jell
- 1 tsp butter
- splash of lemon juice
Instructions
1. Prep your supplies! Fill water canner, half full with water and put on stovetop. To ensure water is hot when jars go into the canner go ahead and turn on the heat. Take washed jars and either add them to the canner to warm with the water or you can put jars into the oven on a cookie sheet. Turn oven onto 200 degrees and leave in until ready to use. Add a little water over flat lids in saucepan and heat on stovetop. (this is optional, some people don't heat the lids up and it works fine as well) Go ahead and get out any other items needed like cutting boards, knives, jar lifter, magnetic lid tool, de-bubbler, bowls, ladle etc.
2. Wash blackberries and put into Dutch oven with 1 cup of water to make sure they don't burn. Cook on medium heat for about 15 minutes. Once blackberries start to soften use a potato masher or muddle to squeeze the blackberries. This helps to get all the juice out of the berries.
3.Once you have thoroughly Once you have got all the juice out of the berries, then pour through a fine mesh strainer. You are needing roughly 3 3/4 cup of juice. If you don't get enough juice out of the berries than fill the remaining part up with water.
3.Pour blackberry juice, lemon juice, butter and sure-jell into a large pot. Bring mixture to a roiling boil and then stir in sugar. Return to full rolling boil and boil exactly 1 min., stirring constantly. Remove from heat. Skim off any foam with metal spoon. ( I am not too picky about getting off all the foam, just majority)
4.Ladle immediately into prepared jars, filling to within 1/4 inch of tops.(I honestly aim for closer to 1/2 inch headspace because I have had them boil over while processing if I don't leave enough room) Wipe jar rims clean with a paper towel and water or vinegar. Cover with lids and screw bands finger tip tight. Place jars on elevated rack in canner. Lower rack into canner. (Water must cover jars by 1 to 2 inches. Add boiling water, if necessary. I like to keep some water in my kettle going incase I need to add some.) Cover and bring water to gentle boil. Process 10 min. Remove jars and place upright on towel to cool completely. After jars cool, check seals by pressing middle of lid with finger. (If lid springs back, lid is not sealed and refrigeration is necessary.)
5. Leave jars alone for 12-24 hours and then remove the rings, check seal is secured and label.